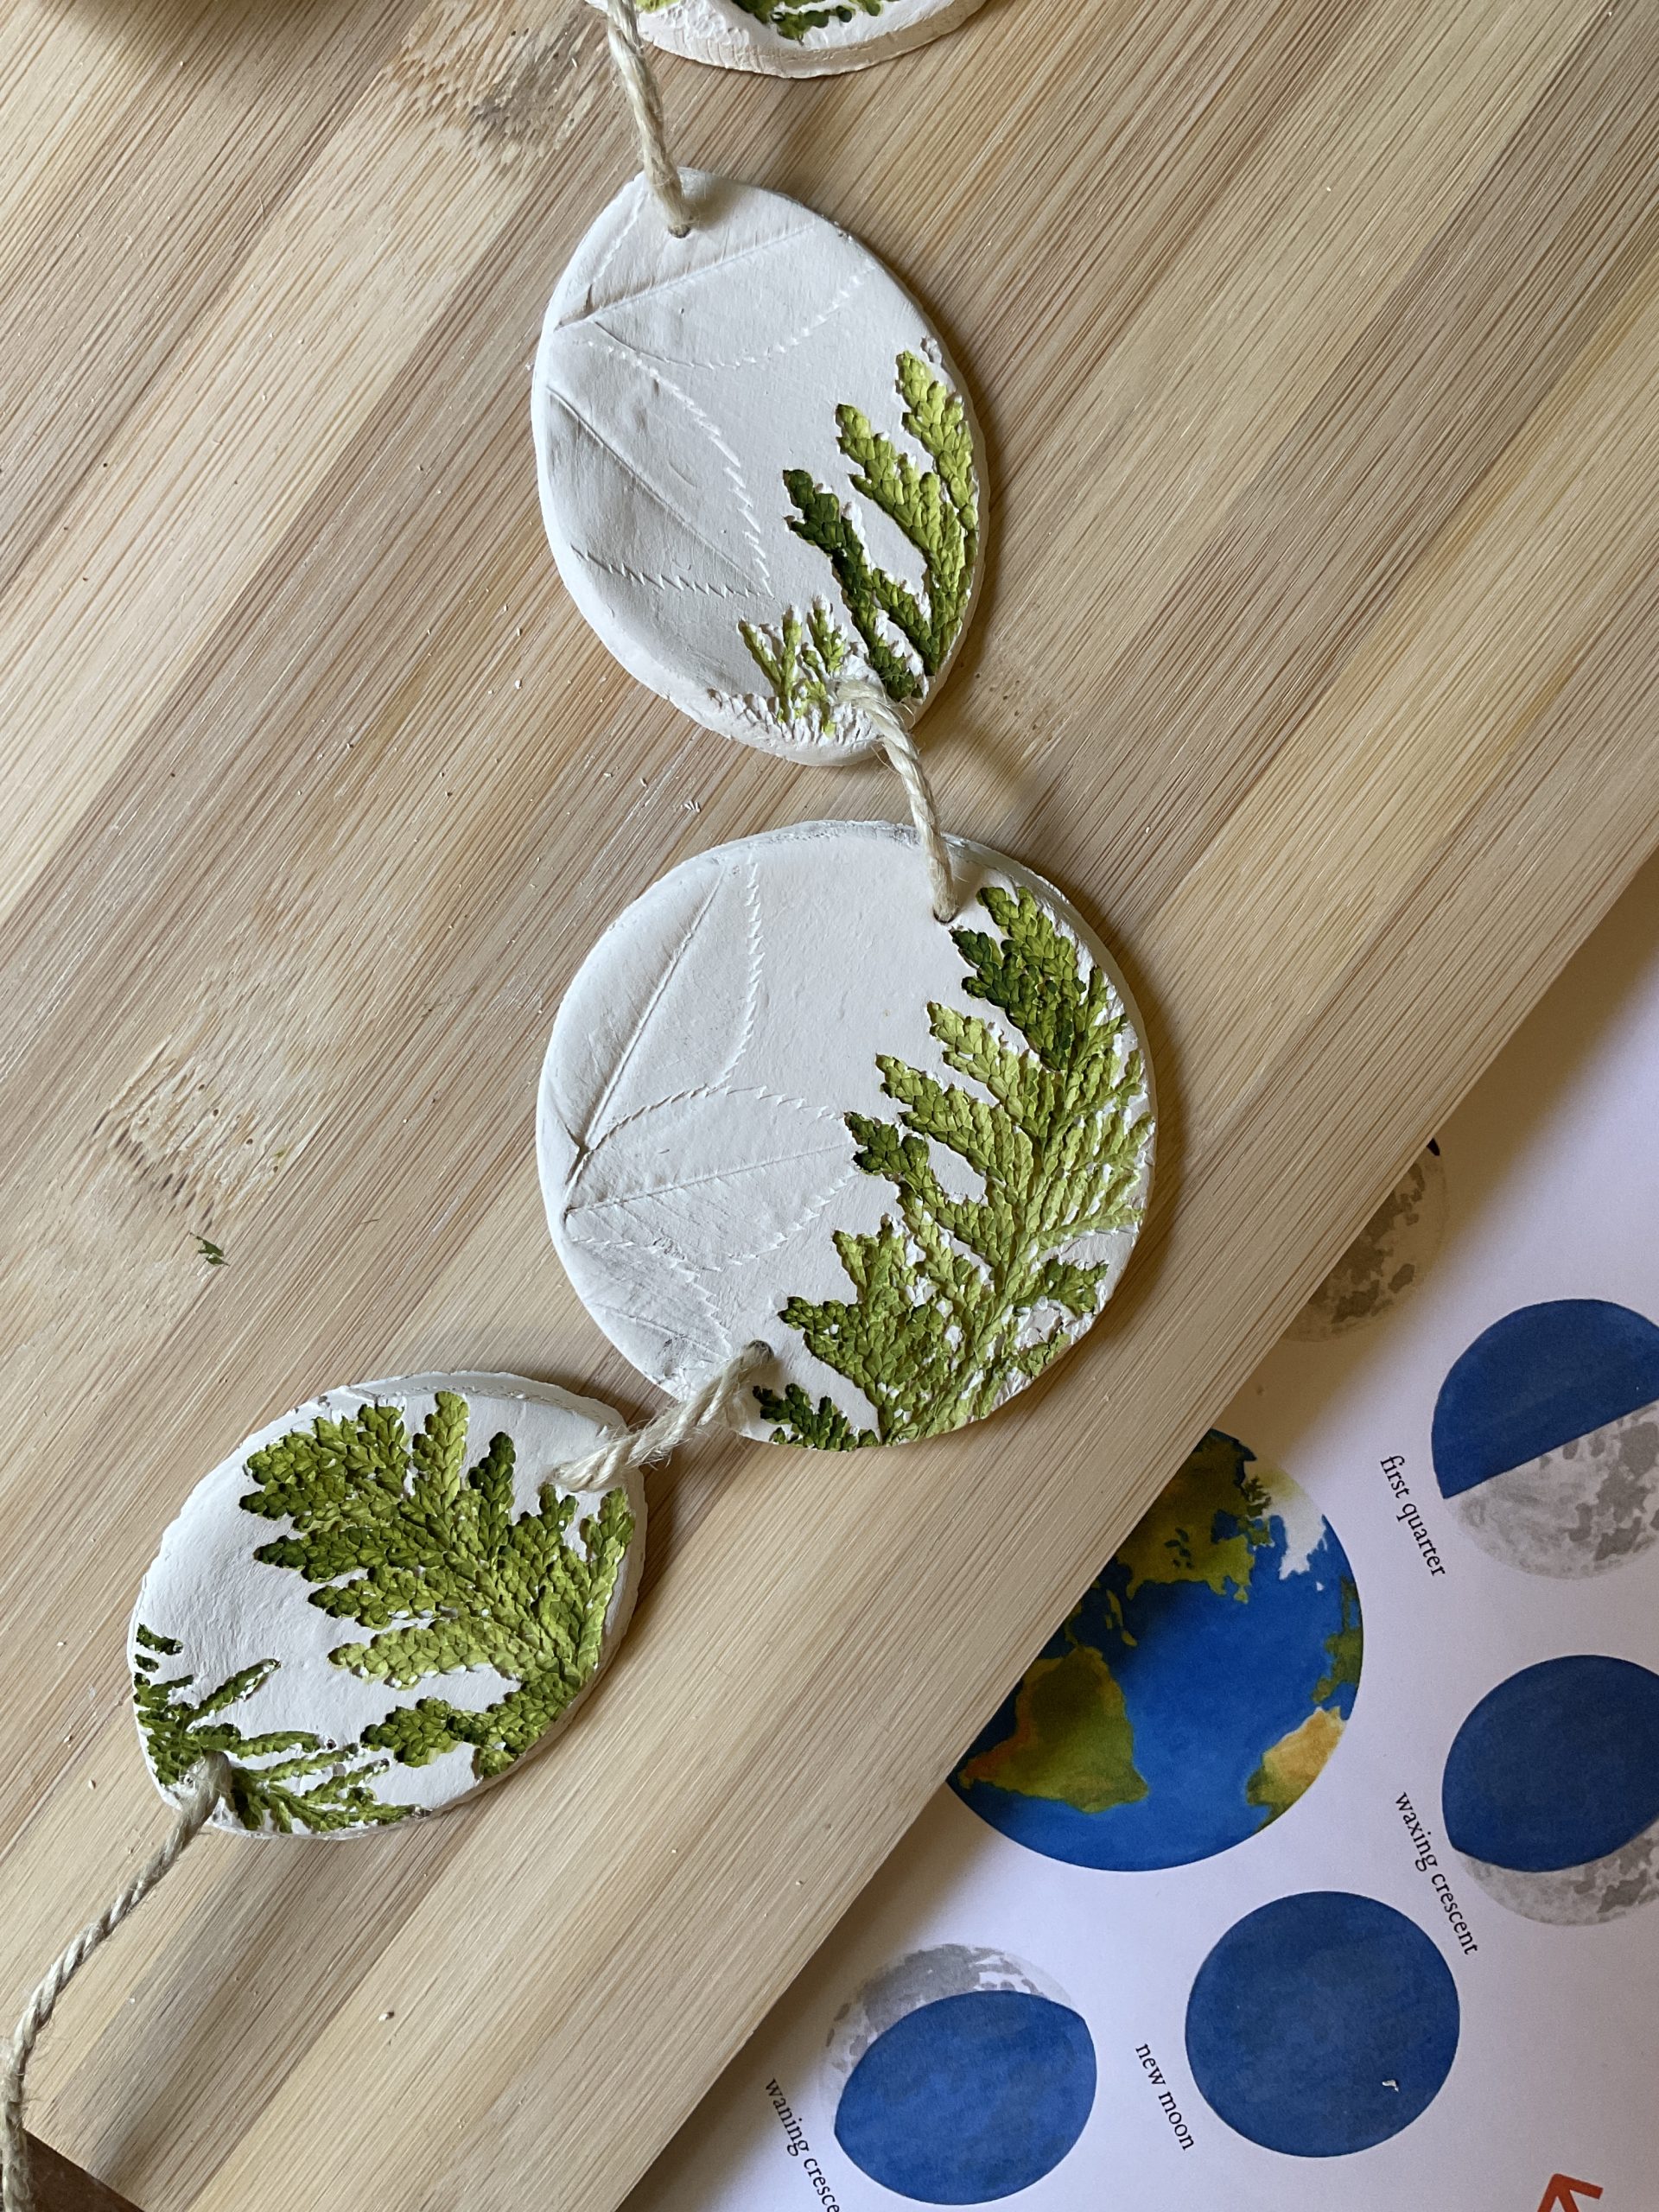
Nature-Inspired Moon Phases Wall Hanging
There’s something magical about the moon, especially on a dreamy winter night. Our nearest celestial neighbor has captivated humanity for centuries with its ever-changing face. From the bright, full moon that lights up the night to the slim crescent that barely shimmers, each phase offers us a unique view of our lunar companion. To bring the wonder of the moon into your home, create this easy nature-inspired moon phases wall hanging. This craft not only celebrates the moon’s beauty but also provides a hands-on way for your children to learn about the lunar cycle.
What are Moon Phases?
Each night the moon looks a little different. These changes in shape are called moon phases. The Moon itself isn’t actually changing, but the part that we see does! Just like the Earth, the moon can’t make its own light. The only light in our solar system comes from the Sun. What we see as “moonlight” is sunlight reflecting off the moon’s surface. The Sun’s light always comes from one direction and light’s up the part of the moon that’s facing it. As the moon travels its orbit around the Earth, the sun lights up different parts. Sometimes it lights up the whole face of the moon that faces us (full moon), while other times we can see only a sliver. It takes about 27 days for the moon to complete one orbit around the Earth, but because we are also moving in our own orbit around the Sun, from Earth’s perspective it takes 29 days for the moon to finish its lunar cycle. Tricky!
Nature-Inspired Moon Phases Wall Hanging
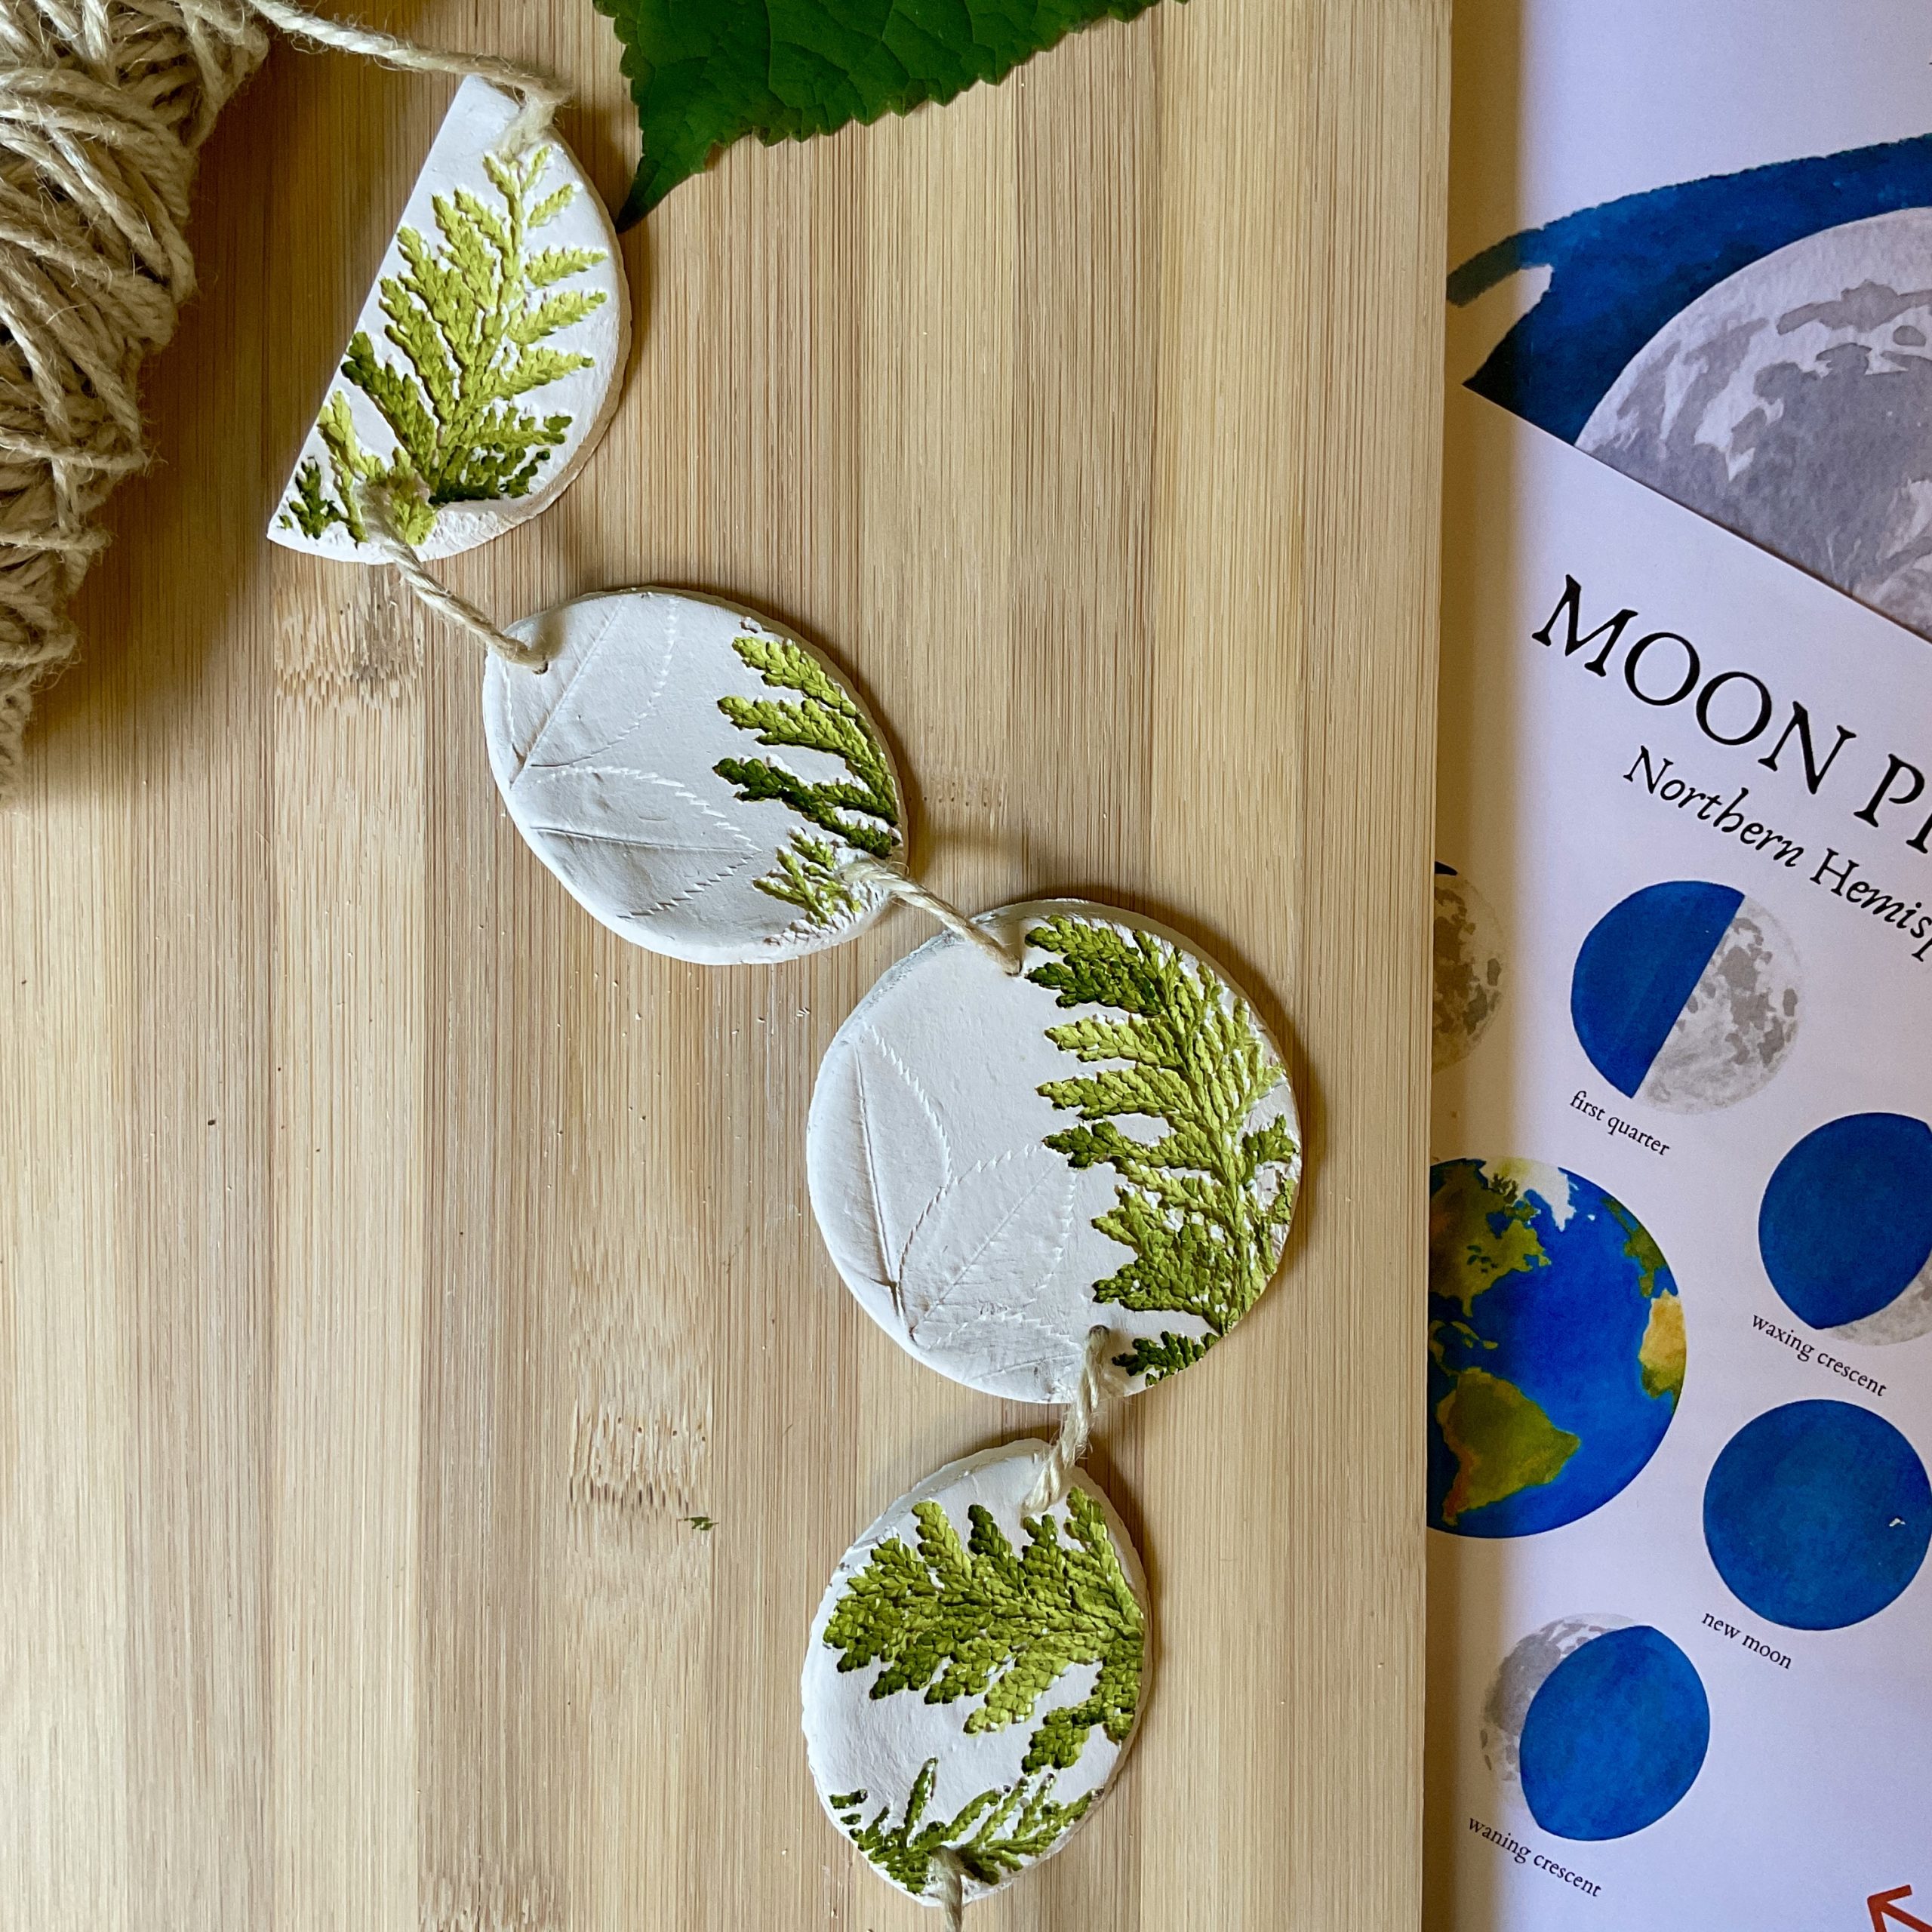
what you need:
- air dry clay
- rolling pin
- mason jar lid
- clay knife (please supervise children’s use of knives)
- straw
- watercolor paints and brushes
- twine
- small branch
what you do:
- Gather Nature Items: During your next hike, collect textured nature items like cedar branches. These will add unique patterns to your clay. Please only collect non-toxic materials.
- Prepare the Clay: Roll out the air dry clay into a 1/2″ thick sheet.
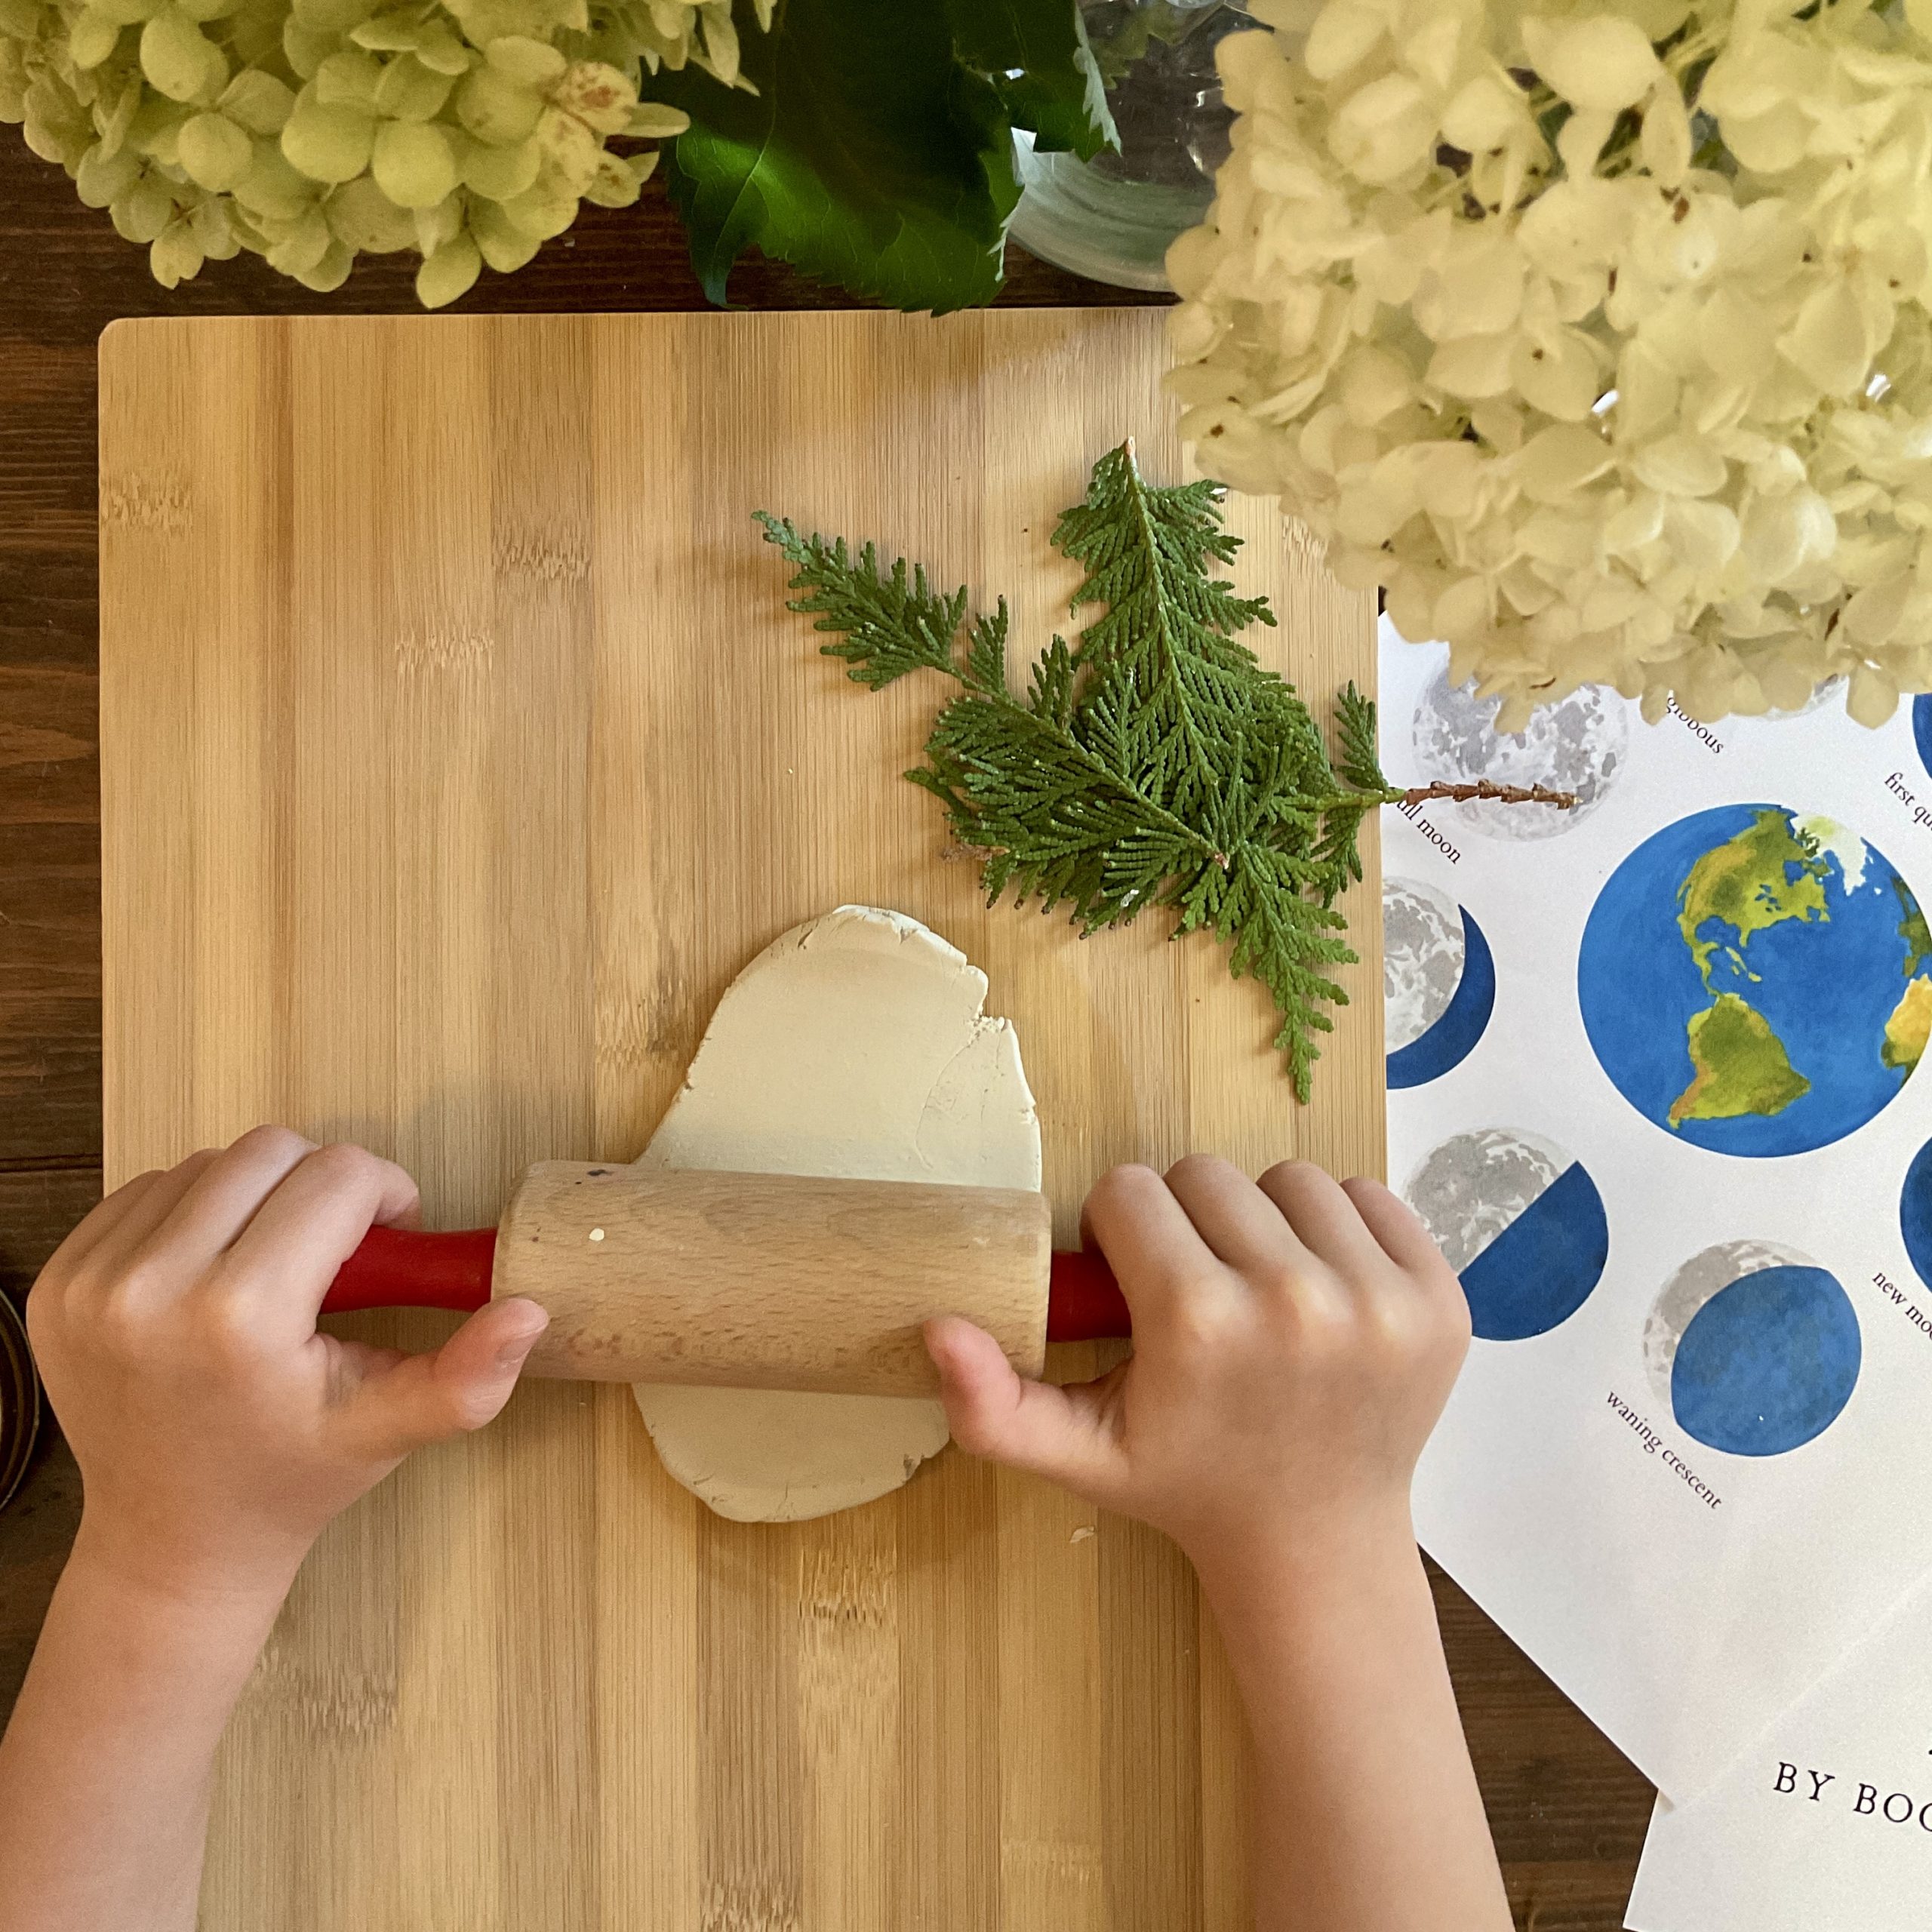
3. Create Impressions: Lay your nature finds on the clay sheet. Gently roll over them with your rolling pin to press their textures into the clay. Carefully remove the items to reveal beautiful, natural patterns.
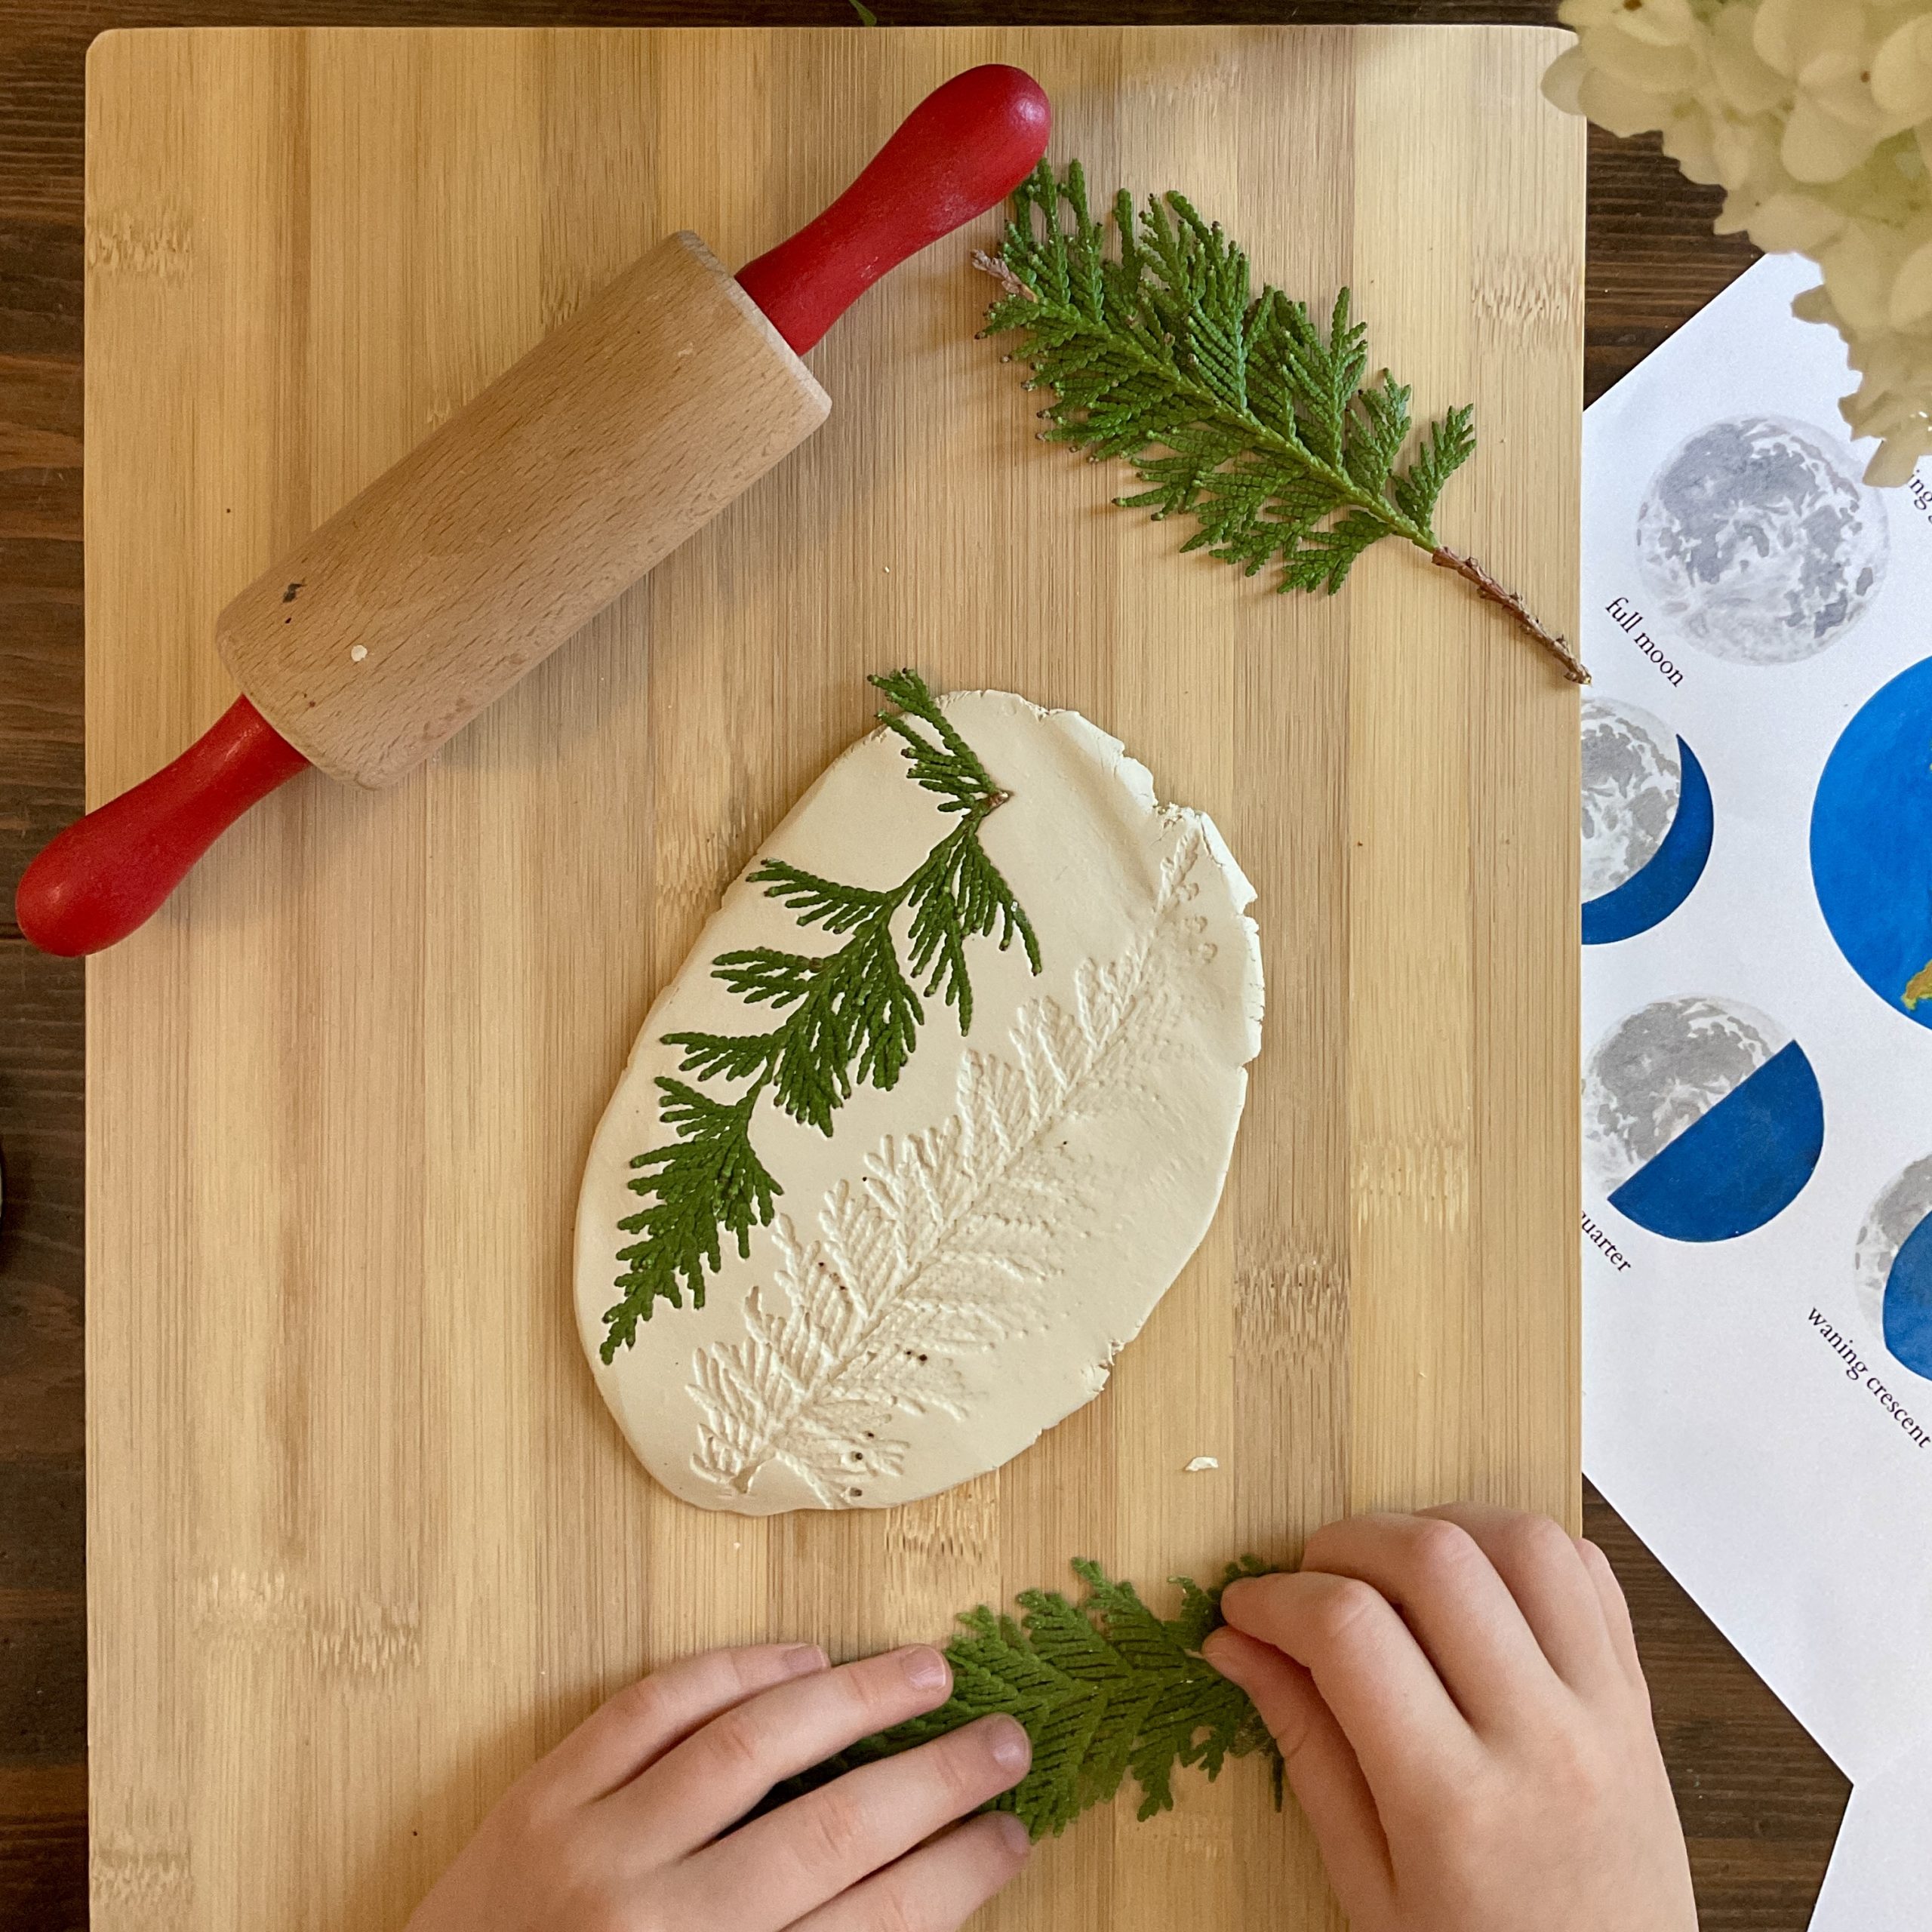
4. Cut Out Moon Phases: Use a mason jar lid or a glass to cut out five circles from the clay. Leave two circles whole to represent the new and full moon phases. For the crescent and gibbous phases, use the mason jar lid to cut crescent shapes into two circles. Cut one circle in half for the first and last quarter phases.
5. Add Holes: Punch a hole in the top and bottom of each moon phase ornament using a straw or a small tool.
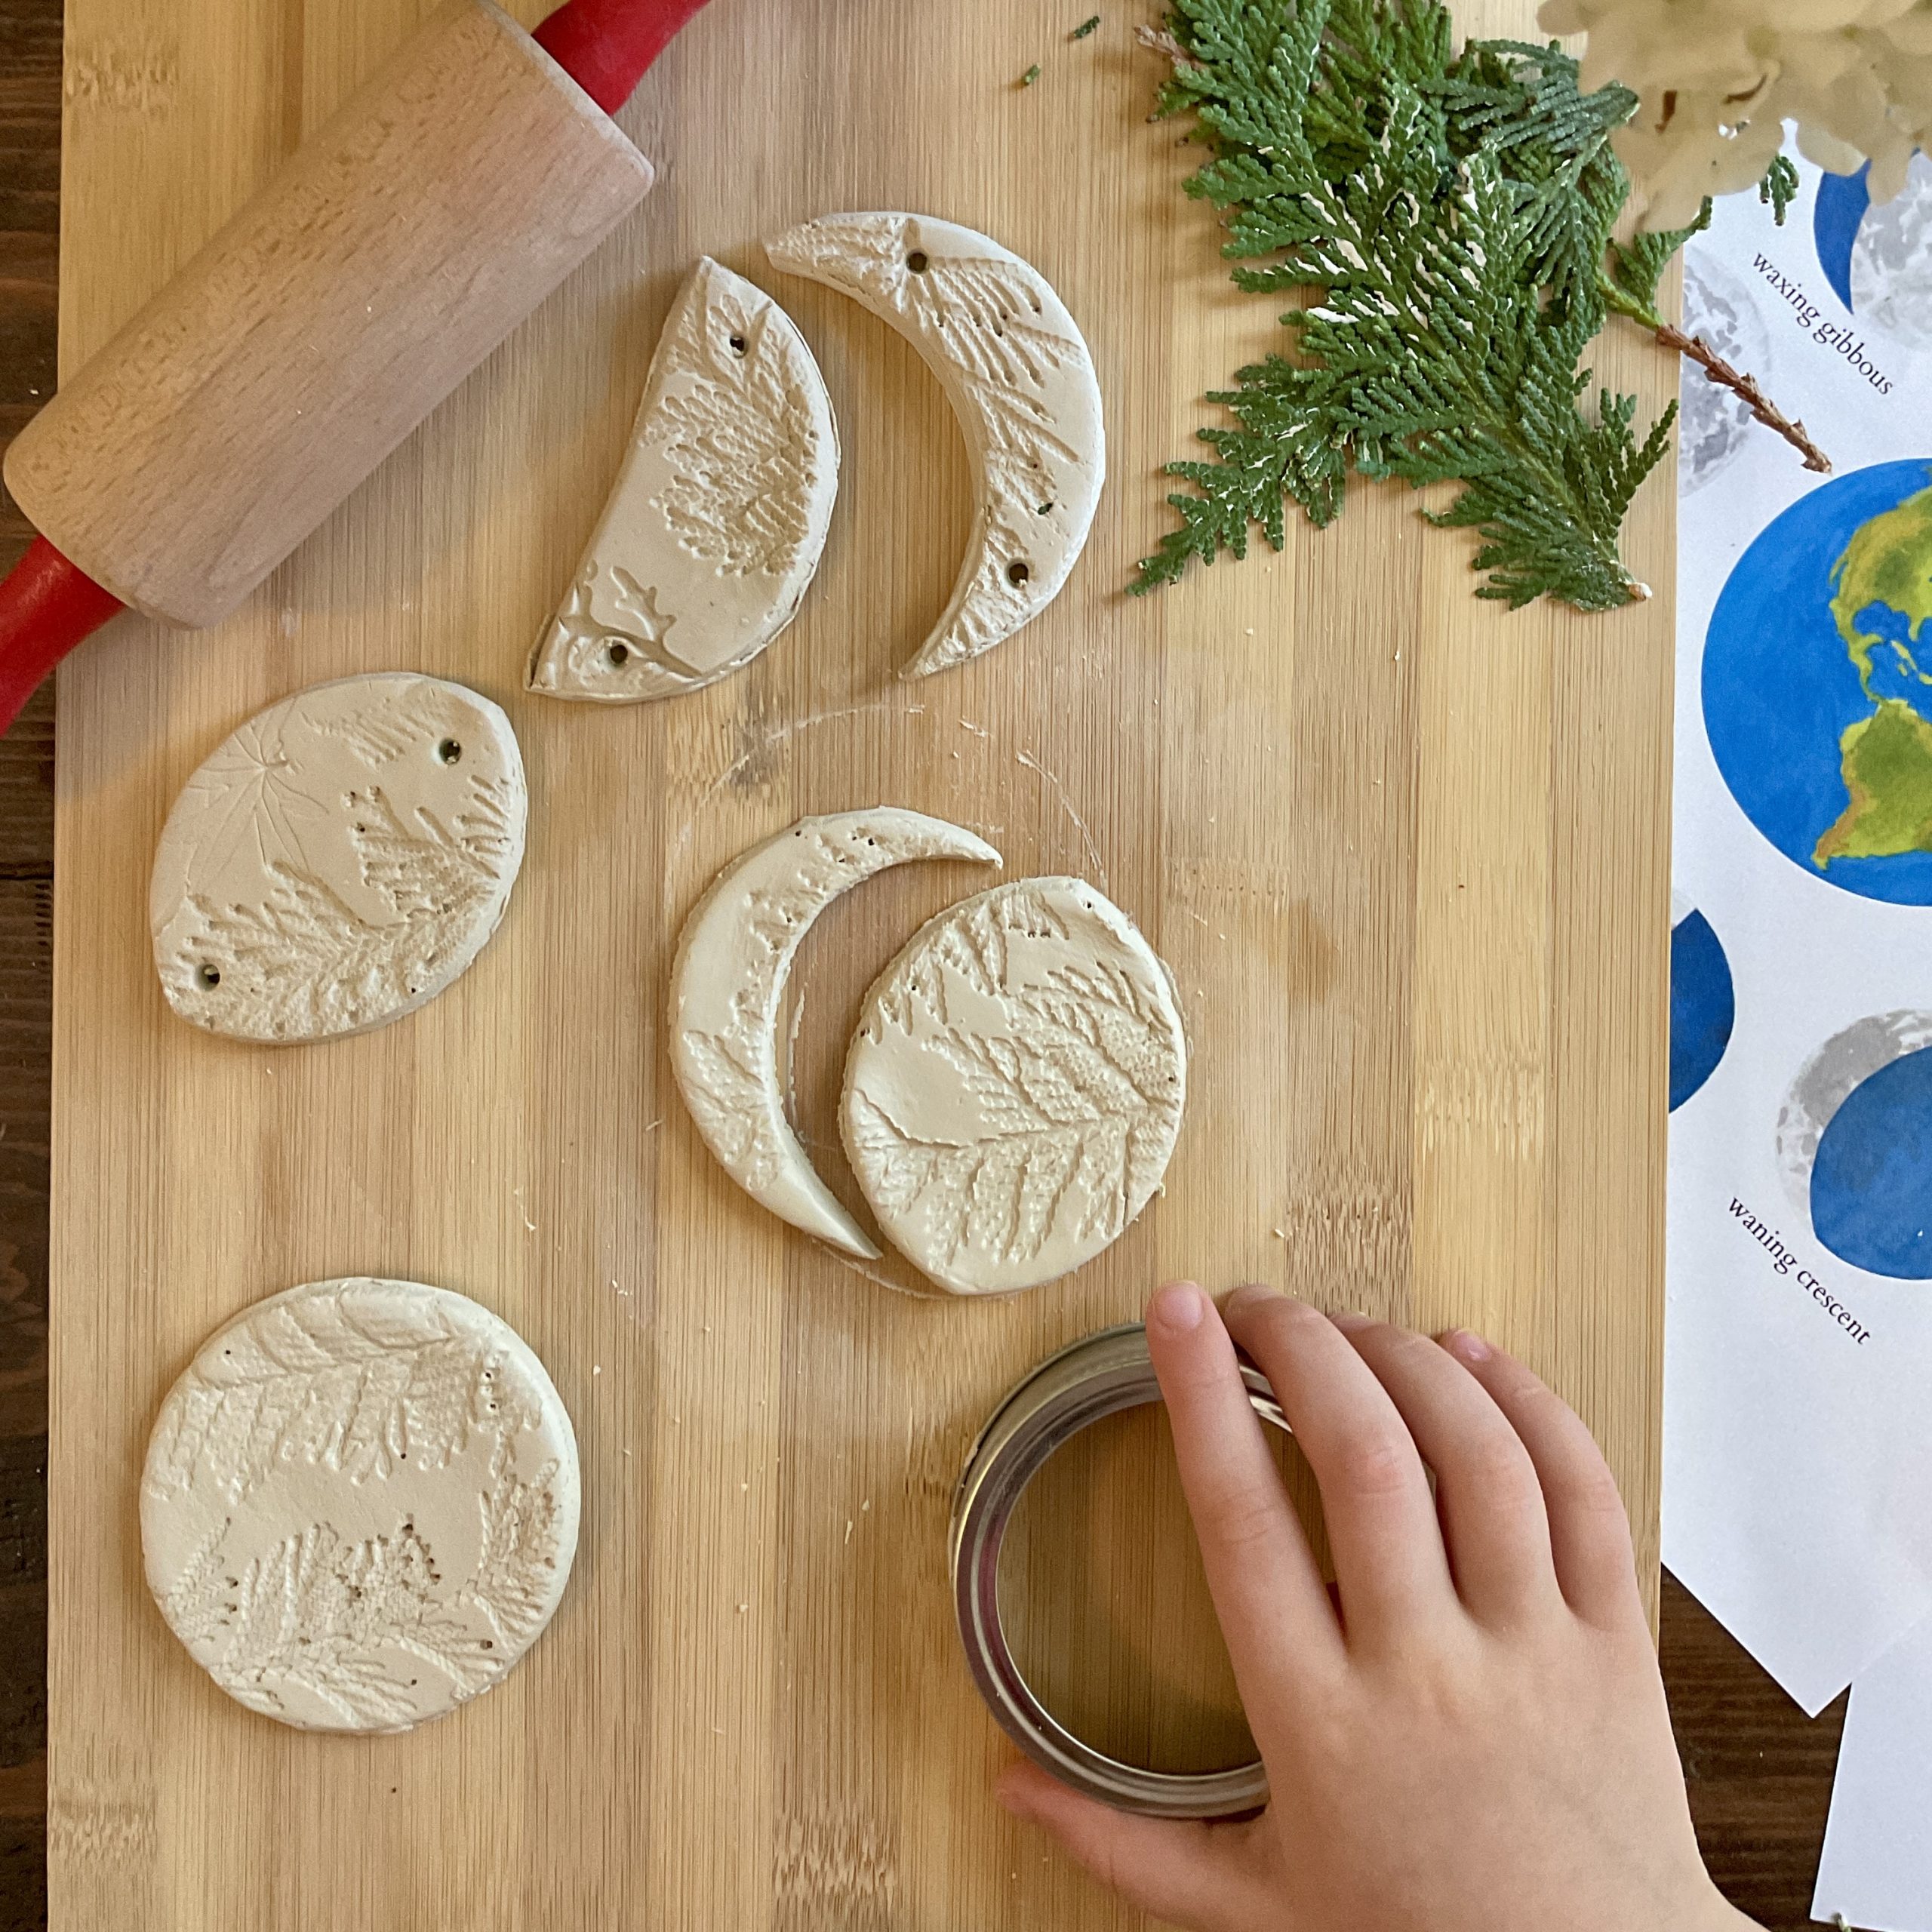
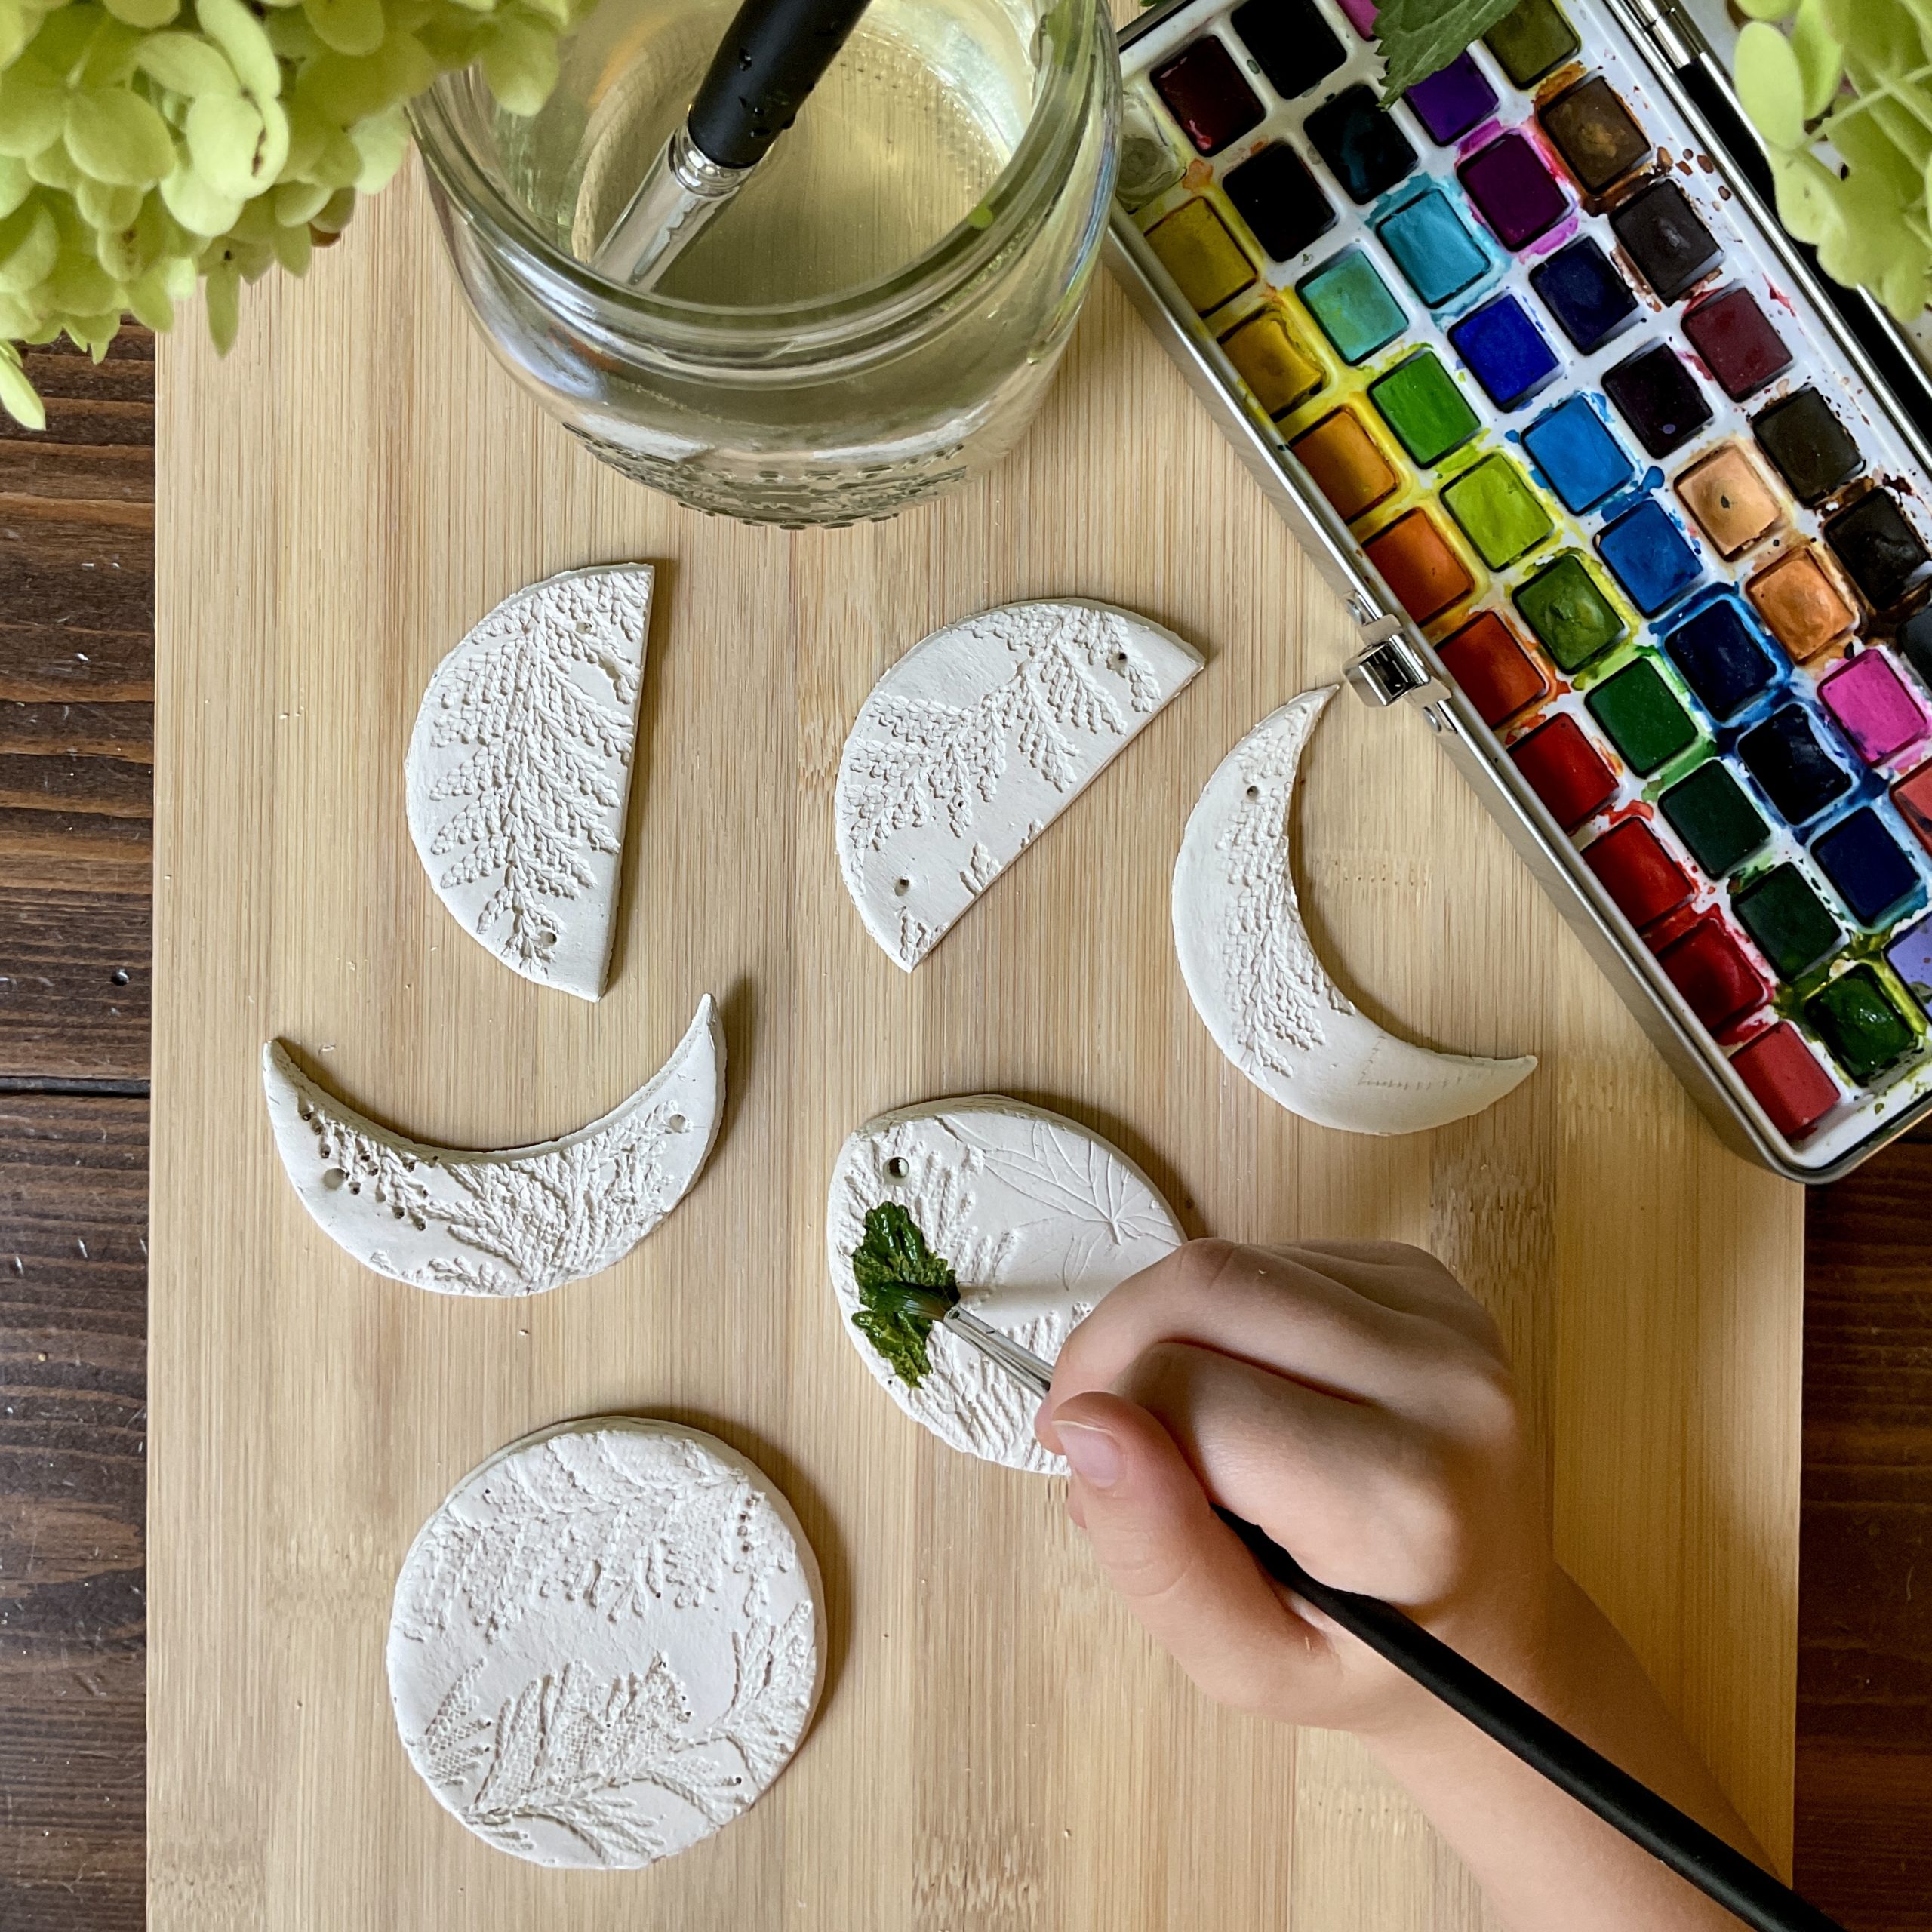
6. Dry and Paint: Allow the clay shapes to dry completely. Once dry, paint the textured patterns with watercolor paints for a vibrant finish. String the painted moons in order with twine and hang them from a small branch: new moon, waxing crescent, first quarter, waxing gibbous, full moon, waning gibbous, third quarter, and waning crescent.

Download OUR free activity
Free Moon Phases Calendar
have you seen our:
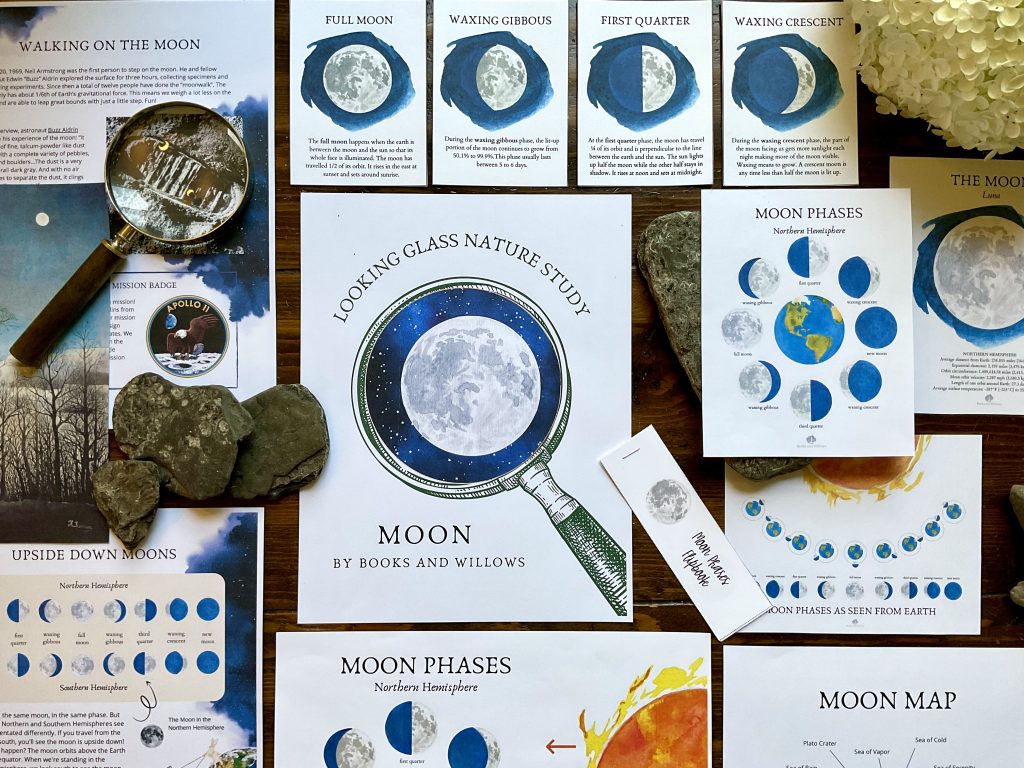
MOON LOOKING GLASS NATURE STUDY
Take a trip to the MOON with us in this in-depth family unit study. Learn about theories on how the moon was created, the moon’s geography, phases, eclipses, and even the moon landing! Then extend your learning into the arts with our related poetry, music, and artist studies.
Share your beautiful creations with us on Instagram by tagging @booksandwillows, we would love to see them! ~ Jacqueline
![Levels of Ecological Organization for Kids [FREE Flipbook]](https://booksandwillows.com/wp-content/uploads/2024/09/IMG_9224-768x768.jpeg)